
Kitchen cabinets are one of the most important elements of any kitchen. They influence not only the look and feel of the space but also how efficiently it functions. Whether you are upgrading an old kitchen, installing cabinets in a new home, or learning how to maintain the ones you already have, understanding the fundamentals can save you time, effort, and unnecessary expenses. This guide covers everything from choosing the right styles to installing, cleaning, and even making your own cabinets.
Understanding the Role of Kitchen Cabinetry
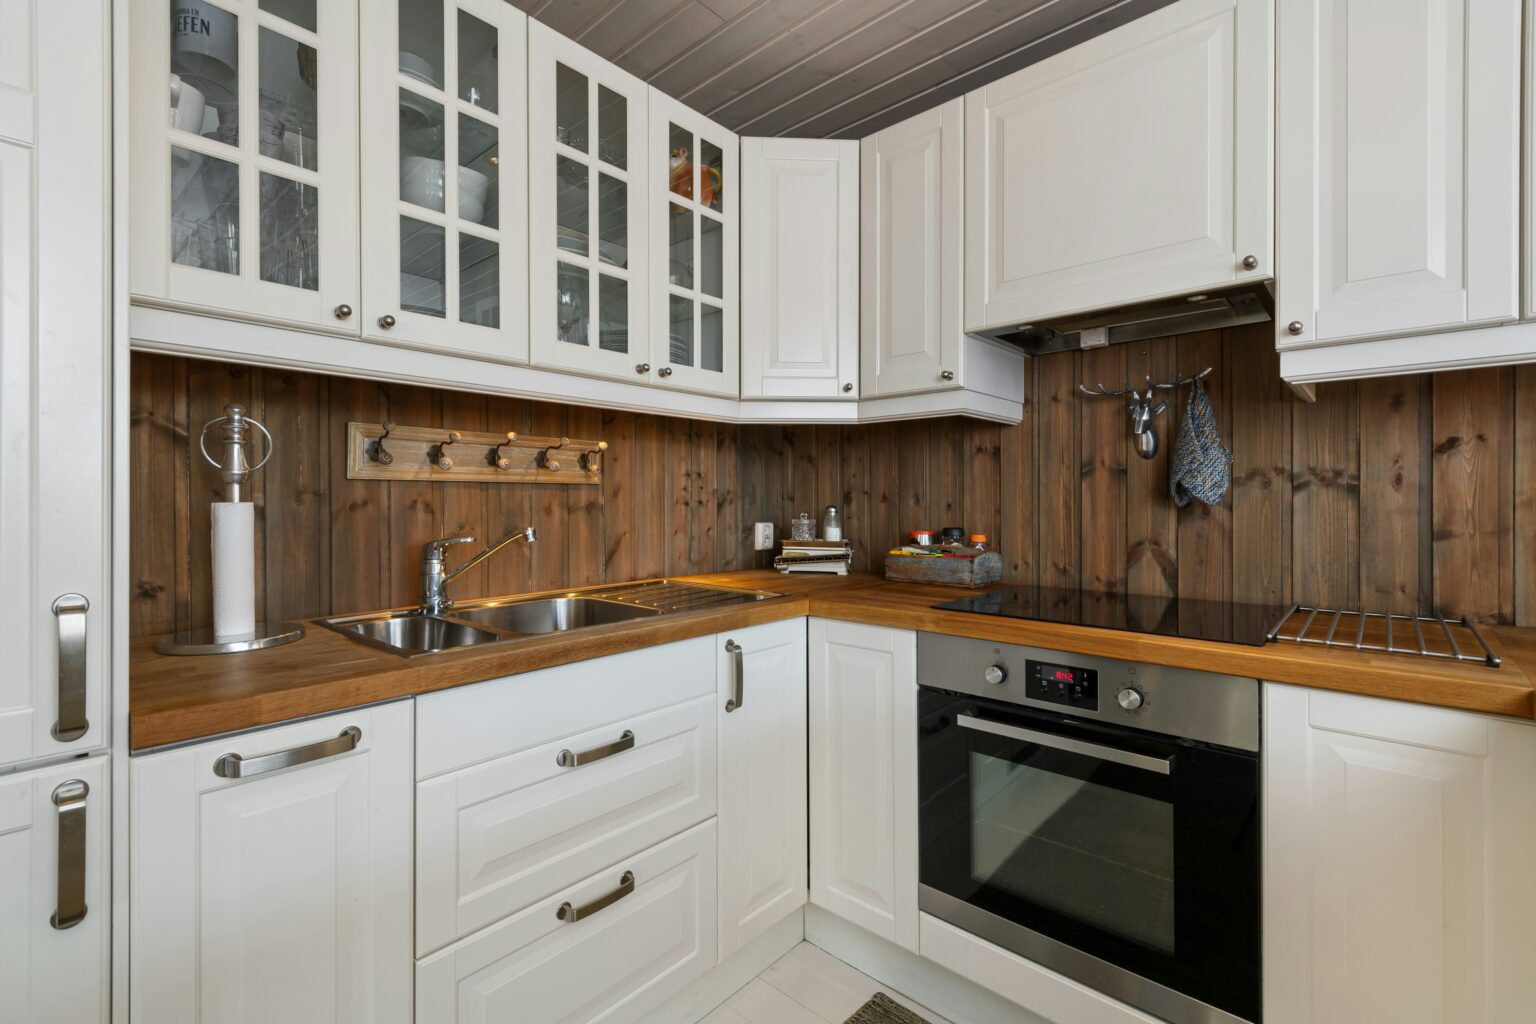
Kitchen cabinets serve two main purposes: storage and design. They define the workflow of the kitchen and help organize tools, cookware, appliances, and pantry items. The design choices you make—materials, finishes, layout, and hardware—affect both the function and the aesthetic.
In today’s modern homes, cabinets contribute heavily to the overall value of the property. Upgrading them is often one of the most cost-effective improvements homeowners can make, especially when preparing a house for resale.
Choosing the Right Cabinets for Your Home
Factors to Consider Before Buying
Before selecting cabinets, think about how you use your kitchen. Do you cook daily? Do you need pull-out shelves for easy access? Are you short on storage? These questions help determine custom features, materials, and budget.
Key considerations include:
- Layout and floor plan
- Materials and durability
- Style preference (traditional, shaker, modern, frameless, inset)
- Storage requirements
- Hardware and internal mechanisms
- Long-term maintenance needs
Cabinets come in three main categories: stock, semi-custom, and custom. Stock options are budget-friendly and available quickly, while custom cabinets allow complete design freedom, at a higher price.
How to Install Cabinets in a Kitchen
Installing cabinets is one of the most significant steps in a kitchen remodel. While many homeowners hire professionals, it is possible to do the job yourself with proper planning and tools.
Preparation Before Installation
Before beginning, confirm the kitchen measurements. Walls should be level, plumbing and electrical work must be complete, and appliances should be placed or measured accurately. Creating a layout drawing helps you visualize where each cabinet will go.
Tools typically needed:
- Level
- Stud finder
- Drill
- Screws
- Measuring tape
- Pencil
- Clamps
Step-by-Step Installation Guide
Step 1: Mark the Layout
Start by marking a level line on the wall where the bottom of the upper cabinets will sit. This ensures everything lines up properly across the room.
Step 2: Locate Wall Studs
Use a stud finder to identify studs behind the drywall. Cabinets must be anchored securely into these or they will not hold weight safely.
Step 3: Install Upper Cabinets First
Begin by mounting the upper cabinets to avoid working over the base units. Lift each cabinet into position, align it with the level line, and secure it through the back panel into the studs.
Step 4: Attach Base Cabinets
Place the base cabinets along the floor line, shimming as needed until they are perfectly level. Screw them together and then secure them to the studs.
Step 5: Add Doors, Drawers, and Hardware
After all cabinet boxes are mounted, install the doors and drawers. Finally, attach handles or knobs according to your design.
DIY installation requires patience and precision, but it is completely achievable for homeowners willing to invest the time.
Understanding the Cost of Cabinets for a 10×12 Kitchen
One of the most common questions homeowners ask when planning a remodel is how much cabinets cost for a 10×12 kitchen. Because cabinet prices vary based on material, construction method, and customization, the budget can differ dramatically.
Stock Cabinets
These are the most affordable. Prices are typically dependent on the number of cabinets, finish options, and the retailer. They work well for simple layouts and homeowners trying to keep costs down.
Semi-Custom Cabinets
These offer more flexibility in sizing and design. Prices fall in the mid-range because you can upgrade features like soft-close drawers, deeper cabinets, or specialty inserts.
Custom Cabinets
These are built to exact measurements and offer the highest level of personalization. They use premium materials and craftsmanship, making them the most expensive option.
Additional Price Factors
- Hardware and accessories
- Installation labor
- Cabinet height and depth
- Drawer quality and the number of drawers
- Built-in organizers (lazy susans, pull-out trays, spice racks)
- Trim work such as crown molding and toe-kicks
Understanding these factors helps set realistic expectations for a renovation budget.
How to Clean Greasy Kitchen Cabinets
Over time, kitchen cabinets accumulate grease, especially those near the stove. Regular cleaning prevents long-term damage and keeps cabinets looking like new.
Daily Maintenance Tips
- Wipe surfaces gently with a damp microfiber cloth
- Use mild dish soap to remove fresh residue
- Dry immediately to prevent moisture damage
Deep Cleaning for Heavy Grease
Step 1: Mix a Gentle Cleaning Solution
Combine warm water with a few drops of dish soap. For tough grease, add a tablespoon of white vinegar or baking soda.
Step 2: Scrub Carefully
Use a soft cloth or non-abrasive sponge. Rub in circular motions to break down grease without scratching the surface.
Step 3: Clean Hardware
Handles and knobs often trap buildup. Remove them if possible and scrub separately.
Step 4: Dry Thoroughly
Wood cabinets absorb moisture. Keeping them dry prevents swelling, discoloration, and warping.
Extra Tips
- Avoid harsh chemicals that strip finish
- Do not soak cabinets
- Polish wooden cabinets occasionally to restore shine
Regular cleaning preserves both appearance and lifespan.
How to Make a Kitchen Cabinet
For homeowners interested in woodworking, building a kitchen cabinet from scratch can be rewarding. It requires tools, planning, and precision, but it offers full control over design and materials.
Tools You May Need
- Circular saw or table saw
- Drill
- Wood glue
- Clamps
- Measuring tape
- Carpenter’s square
Step-by-Step Overview
Step 1: Choose Materials
Plywood is one of the most popular materials because it is strong, lightweight, and easy to cut. For doors, hardwood or MDF may be used depending on your finished look.
Step 2: Measure and Cut Pieces
Create detailed plans for the cabinet box, including sides, bottom, top, and back panels. Accuracy at this stage ensures everything fits together perfectly.
Step 3: Assemble the Box
Use wood glue and screws or nails to join the panels. Ensure all angles are square. Reinforce the structure with a back panel for added strength.
Step 4: Build Shelves or Drawers
Depending on the cabinet type, cut and install interior shelves or drawer slides.
Step 5: Construct Doors
Doors can be made as simple flat panels or more decorative designs like shaker style. Use hinges that match the cabinet frame type.
Step 6: Sand and Finish
Apply primer, paint, or stain based on the desired look. Finish with a protective top coat for durability.
Step 7: Install Hardware
Attach handles, knobs, and any additional mechanisms such as soft-close hinges.
Even if you build only a few cabinets, this skill can significantly reduce remodeling costs and give your kitchen a truly personalized touch.
Final Thoughts on Kitchen Cabinet Planning
Choosing, installing, cleaning, and even building cabinets are essential aspects of creating a functional and attractive kitchen. Whether you are renovating an old space or designing a brand-new layout, understanding the fundamentals helps you make confident decisions.
Cabinets influence workflow, storage efficiency, style, and long-term value. With the right planning and care, they can last for many years while keeping your kitchen organized, beautiful, and enjoyable to use.


